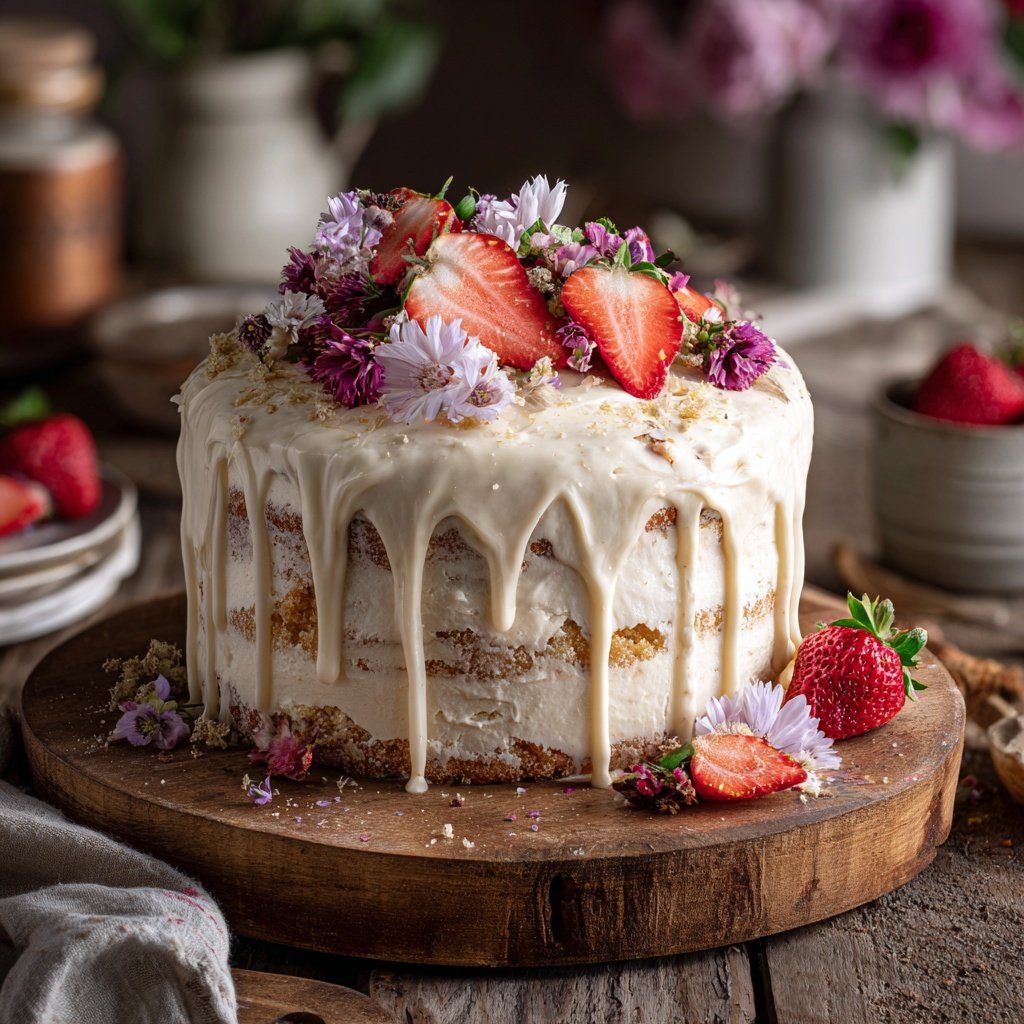
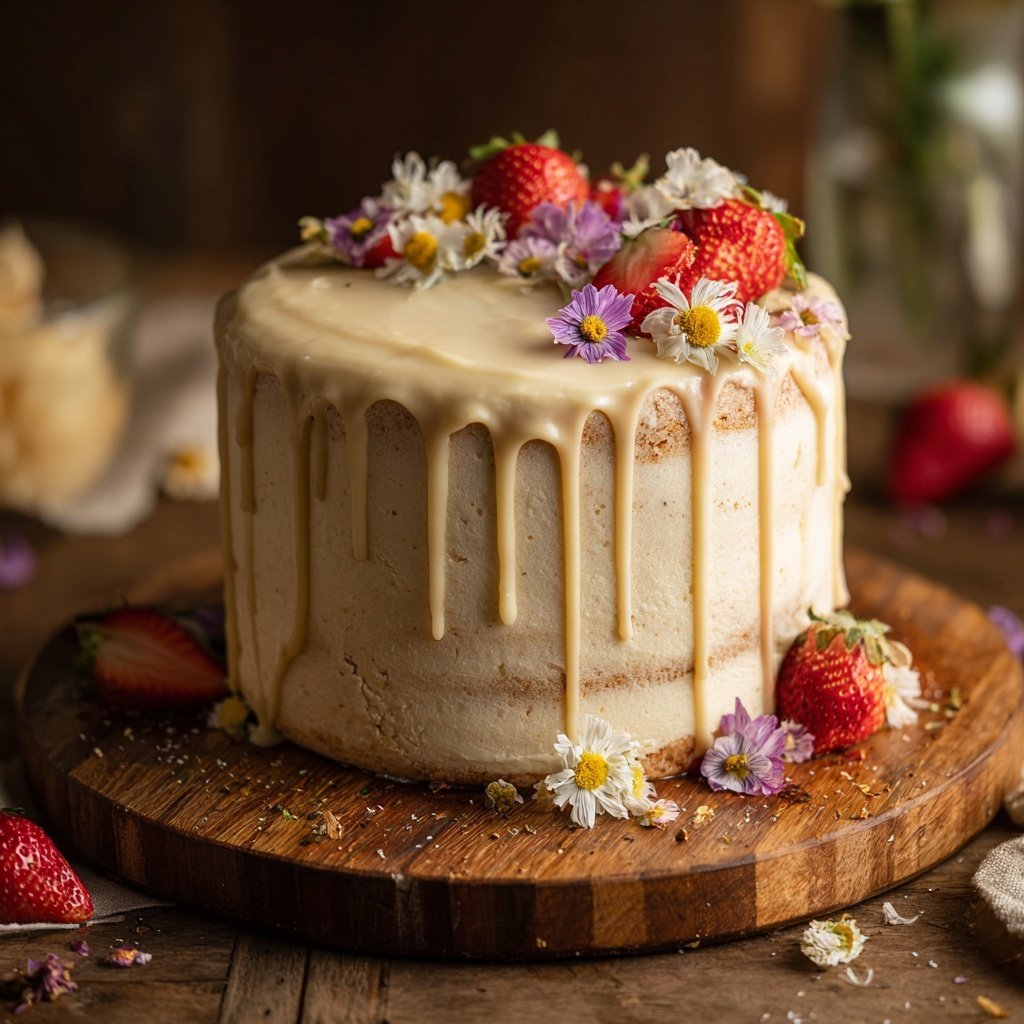
Spring Vanilla Bean Cake
Highlighted under: Cozy Recipes
I absolutely love creating seasonal desserts, and this Spring Vanilla Bean Cake is a delightful way to celebrate the blossoming flavors of spring. The addition of real vanilla bean elevates the sweetness of the cake, while the light and airy texture makes it perfect for any spring gathering. By using high-quality ingredients, I ensure that each bite is filled with a rich and aromatic essence. Whether it's a picnic or an afternoon tea, this cake is sure to impress everyone at the table!
When I first experimented with this recipe, I knew I wanted to capture the essence of spring in a cake. The vanilla bean not only adds natural sweetness but also enhances the cake's flavor profile with little flecks of vanilla that make every slice visually appealing. I recommend combining the dry ingredients thoroughly before mixing in the wet for a consistent batter.
Another tip I learned while perfecting this recipe is to ensure that all your ingredients are at room temperature. This simple step helps the batter mix more uniformly and contributes to the lovely light texture of the cake. Trust me, the extra five minutes to set things out is worth it!
You Will Love This Cake Because
- The irresistible aroma of fresh vanilla beans
- Its light, fluffy texture that's perfect for spring
- Beautiful presentation that’s perfect for any occasion
Understanding the Ingredients
The star of this Spring Vanilla Bean Cake is undoubtedly the vanilla bean itself. Unlike vanilla extract, the real vanilla bean infuses a deeper, more complex flavor into the cake. When using the vanilla bean, make sure to scrape the seeds thoroughly; these tiny flecks will not only enhance the flavor but also add visual appeal to your cake. If you don't have vanilla beans on hand, good quality vanilla extract can be a substitute, though the flavor may not be as rich.
Using room temperature ingredients is crucial for achieving a light and fluffy texture. The butter should be soft enough to easily cream with sugar, while the eggs and milk help to emulsify the batter. If you're short on time, you can quickly bring eggs to room temperature by placing them in a bowl of warm water for about 10–15 minutes. This technique ensures that the batter combines smoothly, leading to better aeration and rise during baking.
Baking and Cooling Tips
When pouring the cake batter into the pans, aim for an even distribution to ensure uniform baking. Use a kitchen scale to measure your batter if you want to be meticulous about the portions. Once in the oven, avoid opening the door too early; doing so can cause the cakes to collapse. Instead, rely on the toothpick test: the cakes are done when a toothpick inserted in the center comes out clean or with just a few moist crumbs attached.
Cooling is another vital stage. After removing the cakes from the oven, allow them to cool in the pans for about 10 minutes. This helps set the structure before transferring them to a wire rack. If you encounter difficulty in removing the cakes, run a butter knife around the edges. This allows for a clean transition, preventing any crumbling that can occur when they are left in the pan for too long.
Frosting and Serving Suggestions
For the frosting, it's important to beat the butter until it's light and creamy before adding the powdered sugar. This step helps create that luscious, smooth texture. Adding heavy cream gradually not only gives the frosting a silky consistency but also helps in achieving the desired spreadability. I always recommend tasting as you go; the balance of sweetness and vanilla should be just right, enhancing the cake without overpowering it.
Consider variations for your frosting by adding a hint of lemon zest or a splash of almond extract. These elements can juxtapose beautifully with the vanilla essence. When serving, consider garnishing with fresh berries, which add not only brightness to the dish but also a lovely tart contrast to the sweetness. Serving slices with a dollop of freshly whipped cream elevates this cake to an even more delightful dessert experience.
Ingredients
For the Cake
- 2 cups all-purpose flour
- 1 1/2 cups granulated sugar
- 1/2 cup unsalted butter, softened
- 1 cup whole milk, room temperature
- 3 large eggs, room temperature
- 2 teaspoons baking powder
- 1/2 teaspoon salt
- 1 vanilla bean, split and seeds scraped
- 1 teaspoon pure vanilla extract
For the Frosting
- 1 cup unsalted butter, softened
- 4 cups powdered sugar
- 1/4 cup heavy cream
- 1 teaspoon pure vanilla extract
- 1 vanilla bean, seeds scraped
Instructions
Preheat and Prepare
Preheat your oven to 350°F (175°C). Grease and flour two 9-inch round cake pans or line them with parchment paper.
Combine Dry Ingredients
In a bowl, whisk together the flour, baking powder, and salt. Set aside.
Cream Butter and Sugar
In a large mixing bowl, cream the softened butter and granulated sugar until light and fluffy.
Add Eggs and Vanilla
Add the eggs one at a time, mixing well after each addition. Then mix in the vanilla extract and the scraped seeds from the vanilla bean.
Mix Wet and Dry Ingredients
Gradually add the dry mixture to the butter mixture, alternating with the milk, starting and ending with the dry ingredients. Mix until just combined.
Bake the Cake
Pour the batter evenly into the prepared cake pans and smooth the tops. Bake for 25-30 minutes or until a toothpick inserted in the center comes out clean.
Cool and Frost
Allow the cakes to cool in the pans for 10 minutes before transferring them to a wire rack to cool completely. Once cooled, frost with your preferred vanilla bean frosting.
Pro Tips
- Always preheat your oven to ensure an even baking temperature. Use high-quality fresh ingredients for the best flavor, especially the vanilla bean.
Storage and Make-Ahead Options
This vanilla bean cake can be made ahead of time. Once cooled, wrap the layers tightly in plastic wrap and refrigerate them for up to three days. Alternatively, you can freeze the cooled cake layers for up to three months; just ensure they are well-wrapped to avoid freezer burn. When you’re ready to serve, remove the layers a few hours before frosting to let them thaw at room temperature.
To store the frosted cake, keep it in an airtight container in the refrigerator for up to five days. The cake’s flavors will continue to meld during storage, making it even more delicious the next day! If you prefer a slightly firmer texture for serving, the cake can also be chilled before slicing.
Common Troubleshooting Tips
Should your cake rise unevenly, it could indicate an issue with the oven calibration or mixing technique. Always check that your oven is set to the correct temperature and consider rotating the pans halfway through baking for an even rise. If your cake appears too dense, it might be overmixed; be sure to mix until just combined when adding the dry ingredients to avoid developing too much gluten.
In the event that your cakes domed too much during baking, you can level them after they've cooled. Use a serrated knife to trim the tops for a flat surface, which will also create a more stable base for your frosting. Remember to keep the cake under supervision while baking, as cake layers can sometimes overbake, leading to dryness. If you encounter this, serve with a scoop of ice cream or a drizzle of sauce to add moisture.
Questions About Recipes
→ Can I substitute the vanilla bean?
Yes, you can use pure vanilla extract if you don't have a vanilla bean. Use about 1 tablespoon of extract for each bean.
→ How should I store leftover cake?
Store leftover cake in an airtight container in the refrigerator for up to 3 days.
→ Can I make this cake ahead of time?
Absolutely! You can bake the cakes a day or two in advance. Just wrap them tightly in plastic wrap once cooled.
→ What can I serve with this cake?
This cake pairs beautifully with fresh berries or a scoop of vanilla ice cream for an extra treat!
Spring Vanilla Bean Cake
Created by: Juniper Hale
Recipe Type: Cozy Recipes
Skill Level: Intermediate
Final Quantity: 12 servings
What You'll Need
For the Cake
- 2 cups all-purpose flour
- 1 1/2 cups granulated sugar
- 1/2 cup unsalted butter, softened
- 1 cup whole milk, room temperature
- 3 large eggs, room temperature
- 2 teaspoons baking powder
- 1/2 teaspoon salt
- 1 vanilla bean, split and seeds scraped
- 1 teaspoon pure vanilla extract
For the Frosting
- 1 cup unsalted butter, softened
- 4 cups powdered sugar
- 1/4 cup heavy cream
- 1 teaspoon pure vanilla extract
- 1 vanilla bean, seeds scraped
How-To Steps
Preheat your oven to 350°F (175°C). Grease and flour two 9-inch round cake pans or line them with parchment paper.
In a bowl, whisk together the flour, baking powder, and salt. Set aside.
In a large mixing bowl, cream the softened butter and granulated sugar until light and fluffy.
Add the eggs one at a time, mixing well after each addition. Then mix in the vanilla extract and the scraped seeds from the vanilla bean.
Gradually add the dry mixture to the butter mixture, alternating with the milk, starting and ending with the dry ingredients. Mix until just combined.
Pour the batter evenly into the prepared cake pans and smooth the tops. Bake for 25-30 minutes or until a toothpick inserted in the center comes out clean.
Allow the cakes to cool in the pans for 10 minutes before transferring them to a wire rack to cool completely. Once cooled, frost with your preferred vanilla bean frosting.
Extra Tips
- Always preheat your oven to ensure an even baking temperature. Use high-quality fresh ingredients for the best flavor, especially the vanilla bean.
Nutritional Breakdown (Per Serving)
- Calories: 350 kcal
- Total Fat: 18g
- Saturated Fat: 11g
- Cholesterol: 70mg
- Sodium: 150mg
- Total Carbohydrates: 43g
- Dietary Fiber: 1g
- Sugars: 26g
- Protein: 4g